User Guide
Running DVR-Scan
After downloading, you should have the dvr-scan command available on your system from a terminal or command prompt. Try running dvr-scan --help.
For portable versions, replace dvr-scan with the path to dvr-scan.exe in the extracted files on your system.
To extract all motion events from a video, you can start with:
dvr-scan -i video.mp4
This will produce output events in your working directory starting with the prefix video.DSME_ (e.g. video.DSME_0001.avi). If you want to limit scanning to a particular part of the video frame, you can use the region editor:
dvr-scan -i video.mp4 -r
DVR-Scan should provide good results for most use cases, but can be fine tuned for specific use cases. There are two main categories of these settings: detection and sensitivity, and event parameters.
See the documentation for a complete list of all command-line and configuration file options which can be set. You can also type dvr-scan --help for an overview of command line options. Lastly, most program options can be set using a config file. DVR-Scan also looks for a dvr-scan.cfg file in the following locations:
- Windows:
C:/Users/%USERNAME%/AppData/Local/DVR-Scan/dvr-scan.cfg - Linux:
~/.config/DVR-Scan/dvr-scan.cfgor$XDG_CONFIG_HOME/dvr-scan.cfg - OSX:
~/Library/Preferences/DVR-Scan/dvr-scan.cfg
These settings will be used by default each time you run DVR-Scan, unless you override them.
Multiple Videos
You can specify multiple input videos as long as they have the same resolution and framerate:
dvr-scan -i video1.mp4 video2.mp4 video*.mp4
Wildcards are also supported:
dvr-scan -i video*.mp4
Note that this will concatenate the videos together in the order they are specified.
This can be undesirable for some types of footage being analyzed. For example, if a folder contains different dashcam footage clips, a significant amount of time can pass between clips (e.g. when the vehicle is shut off). This can result in DVR-Scan generating false events between videos.
To avoid this, you can run DVR-Scan on each video in a loop. For example, on Windows:
for /F %i in ('dir *.mp4 /b') do dvr-scan -i %i
Or on Linux/OSX:
for f in /mnt/videos/*.mp4
do
    dvr-scan -i $f
done
Note that multiple inputs also do not support other output modes. You can use ffmpeg to concatenate all input videos before processing, or use a for-loop as above.
Output Format
By default, DVR-Scan uses the OpenCV VideoWriter for video output. This usually requires the output files be in .AVI format of some kind.
DVR-Scan also supports using ffmpeg to extract motion events. This is done by setting -m/--output-mode to ffmpeg (reencode) or copy (codec copy mode, may not be frame accurate). For example:
dvr-scan -i video.mp4 -m ffmpeg
You can customize the options passed to ffmpeg using a config file (see the ffmpeg-input-args and ffmpeg-output-args) settings).
Setting output mode to ffmpeg or copy has the following caveats:
- inputs that have a variable framerate (VFR) may not be extracted reliably
- input concatenation is not supported
- overlays are not supported
You can customize the options passed to ffmpeg using a config file (see the ffmpeg-input-args and ffmpeg-output-args) settings).
VFR (Variable Framerate)
Variable framerate (VFR) video support is still under development and may produce incorrect results.
Variable framerate (VFR) videos are not well supported, but basic functionality does work. Motion detection and event extraction should work correctly with default settings. Note however that calculated timestamps may be incorrect, and extracted footage may playback at the wrong speed.
Frame numbers will be accurate, but timestamps will not. This can yield incorrect results when setting output mode to ffmpeg or copy, as well as inaccurate timestamps when using overlays. This issue is tracked on Github. If this workflow is required, you can re-encode the source material into fixed framerate before processing.
Region Editor
With the Region Editor, you can limit motion detection to specific areas of the frame. You can launch the region editor when starting DVR-Scan by adding -r/--region-editor:
dvr-scan -i video.mp4 -r
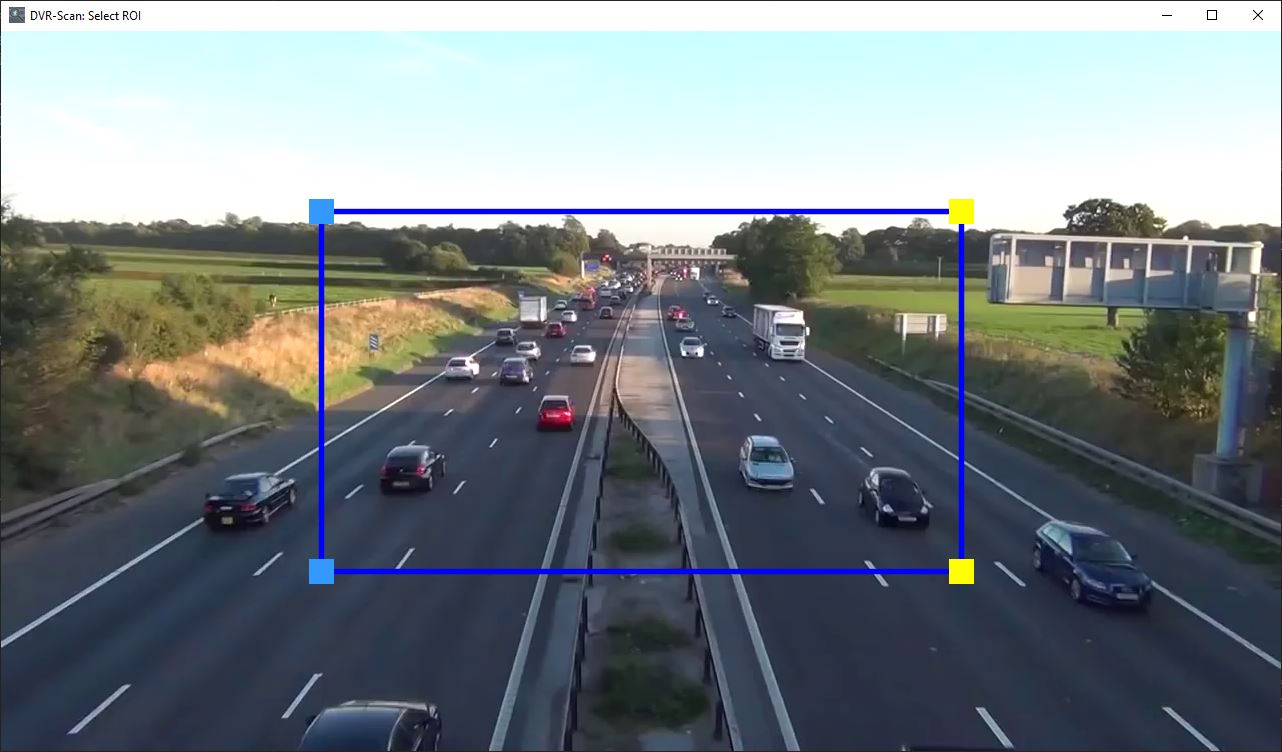
The region editor will open and display a rectangle over the first frame:

You can use the mouse to add or move points when editing regions. Left click to add a new point, or drag an existing one. Left/middle click can be used to delete a point (see controls).
Press S to save the current regions to a file, or O to load existing ones. When you are satisfied with the region, press space bar or enter to start processing the video. You can press escape to quit the program without saving.
Regions
Regions are a set of points creating a closed shape. A rectangle will be created by default for you to modify.
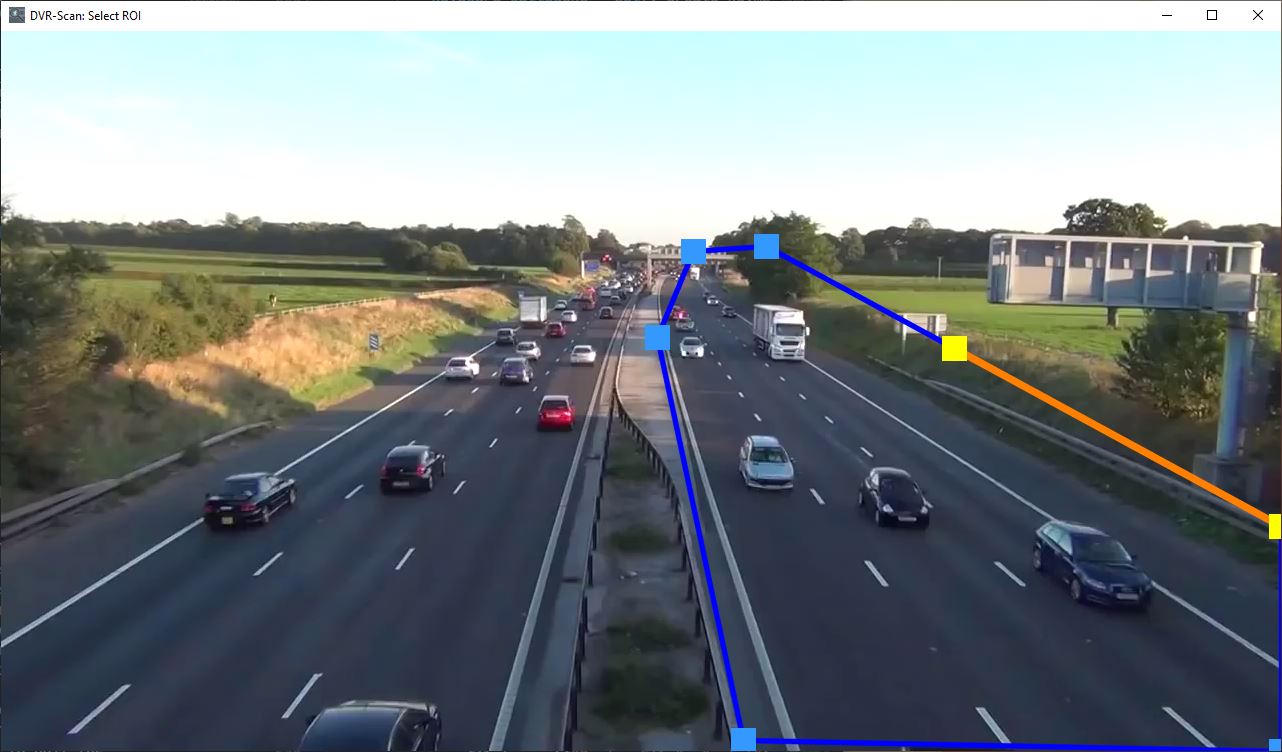
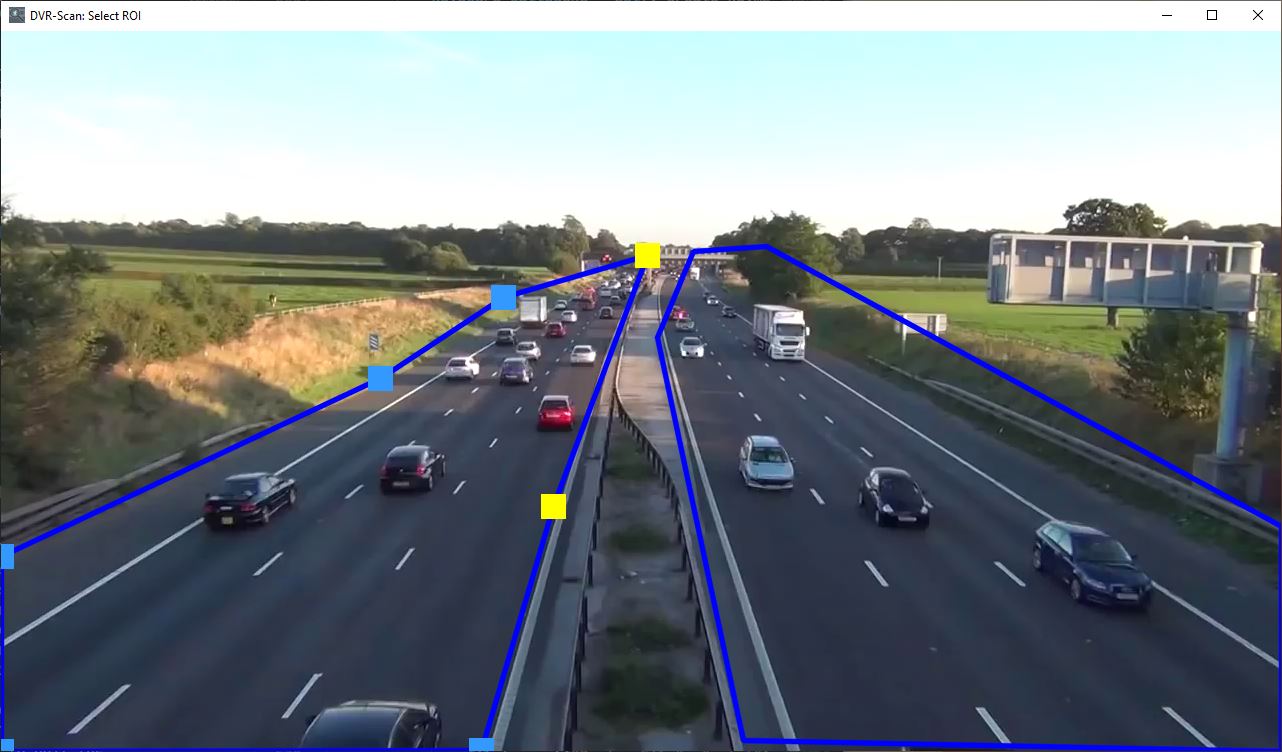
You can use the left mouse button to add a new point (keyboard: A) and right/middle mouse button (keyboard X) to delete a point. You can left click to drag existing points. This allows creating complex shapes, such as:

Regions can be created by pressing T and deleted by pressing G.

Regions can be selected using the number keys 1-9, or by pressing k/l to select the previous/next region. Note that only one region can be active at a time (you must select an existing shape to modify it).
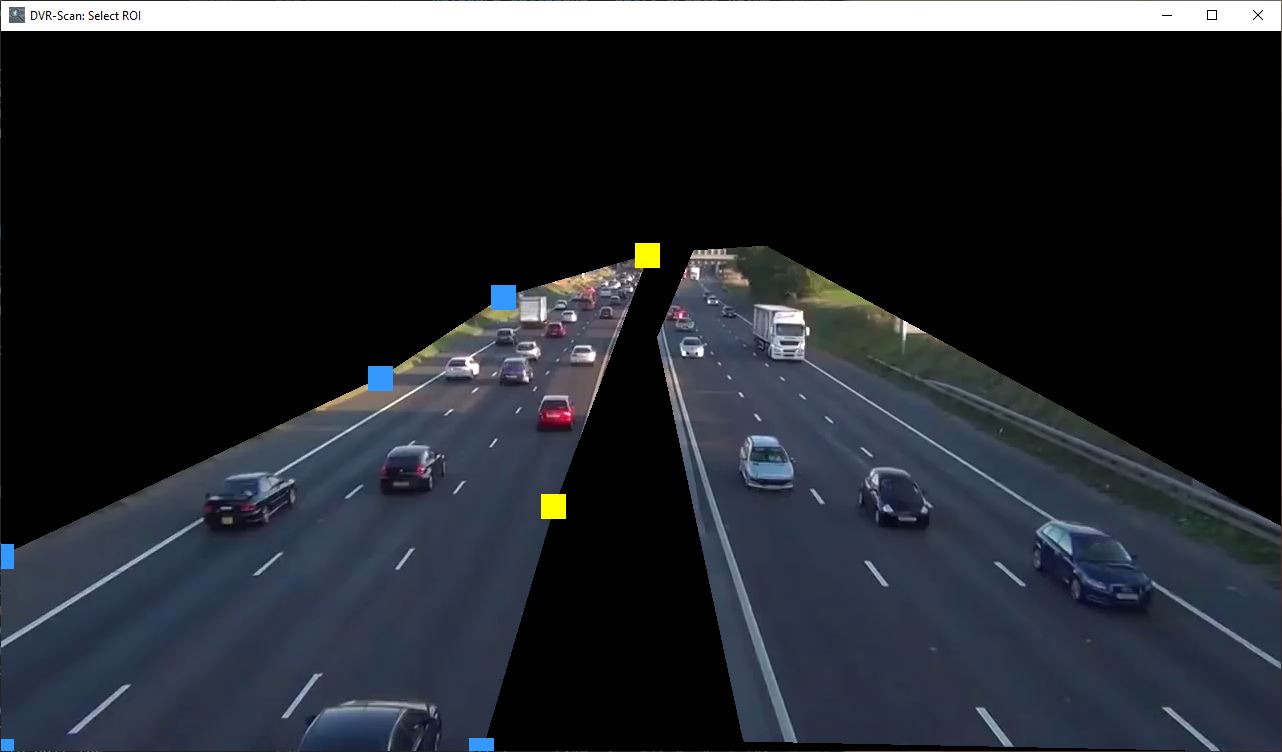
Lastly, you can hit M to view a cutout of the active mask:

Controls
Regions
| Command | Keyboard | Mouse |
|---|---|---|
| Add Point | A |
Left |
| Delete Point | X |
Right Middle |
| Add Region | T |
|
| Delete Region | G |
|
| Select Region | 1 - 9 |
|
| Next Region | L |
|
| Previous Region | K |
Editor
| Command | Keyboard | Alt |
|---|---|---|
| Mask On/Off | M |
|
| Start Scan | Space, Enter |
|
| Quit | Escape | |
| Save | S |
|
| Load | O |
|
| Undo | Z |
Ctrl + Z |
| Redo | Y |
Ctrl + Y |
| Print Points | C |
Display
| Command | Keyboard | Mouse |
|---|---|---|
| Downscale Increase | W |
|
| Downscale Decrease | E |
|
| Antialiasing | Q |
|
| Window Mode | R |
|
| Window Menu | Right |